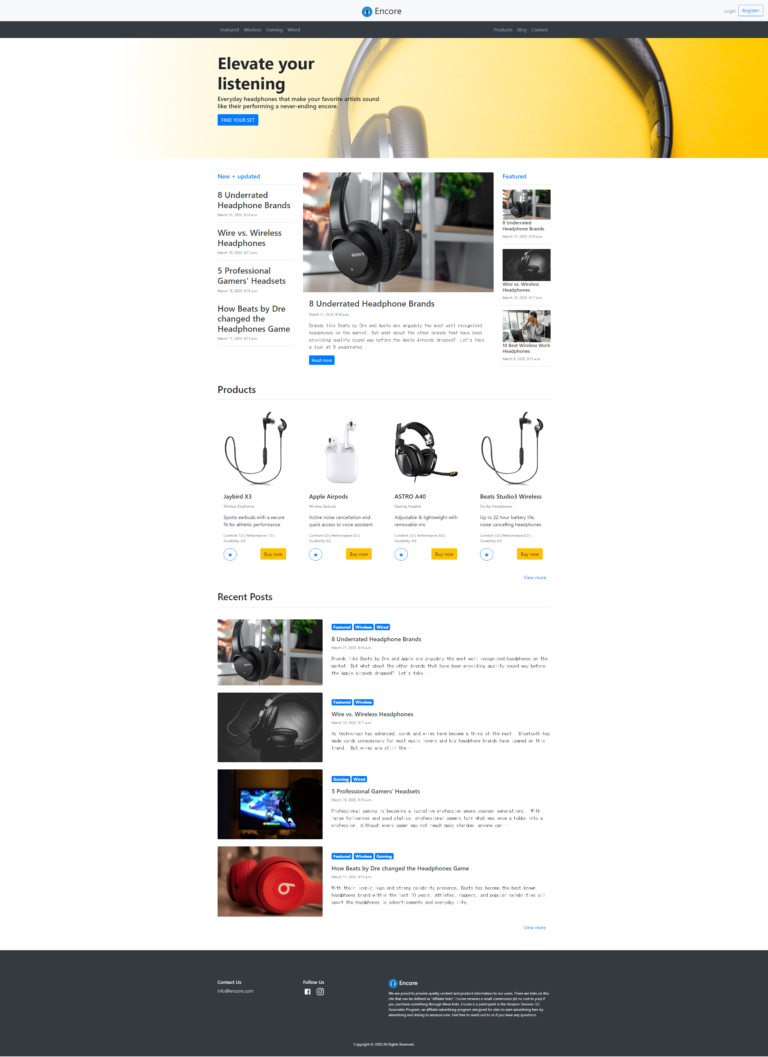
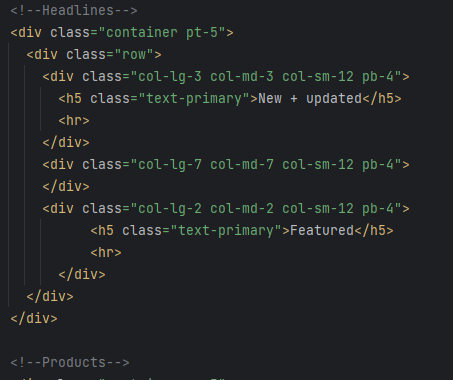
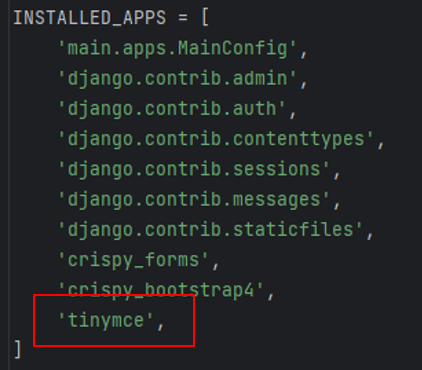
Django I에서 다루게 될 내용은 다음과 같습니다.
2-1 Django installation and configuration
2-2 Django overview and debugging
2-3 Django + Bootstrap
2-4 Django functionality I
2-5 Django functionality II
이번에는 Django functionality I 입니다.
2-4 Django functionality I
(1) Adding Bootstrap cards
home.html에 Bootstrap card 추가
다음과 같이 코드를 추가합니다.
mysite > main > templates > main > home.html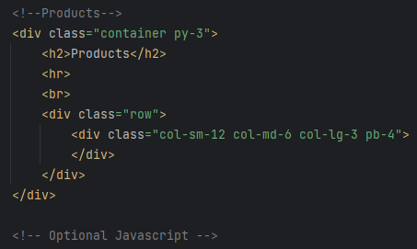
다음과 같이 Bootstrap card 코드를 추가합니다.
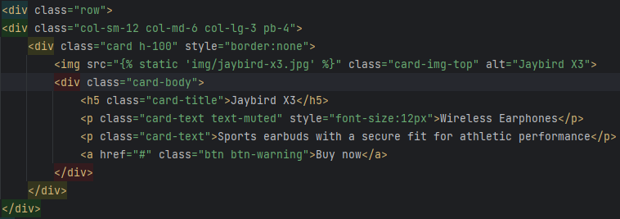
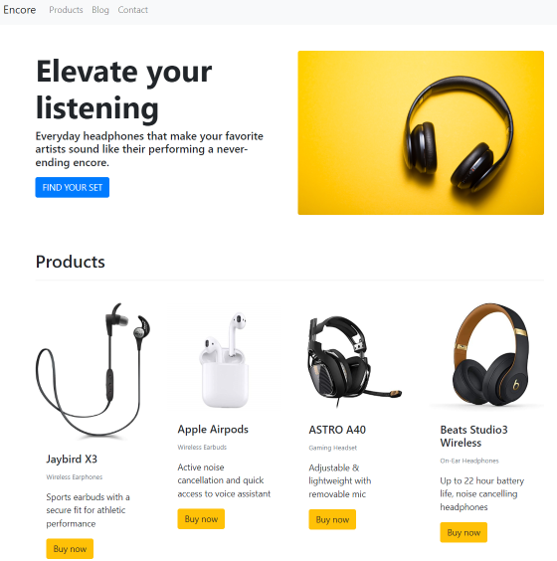
브라우저에서 확인해 봅니다.
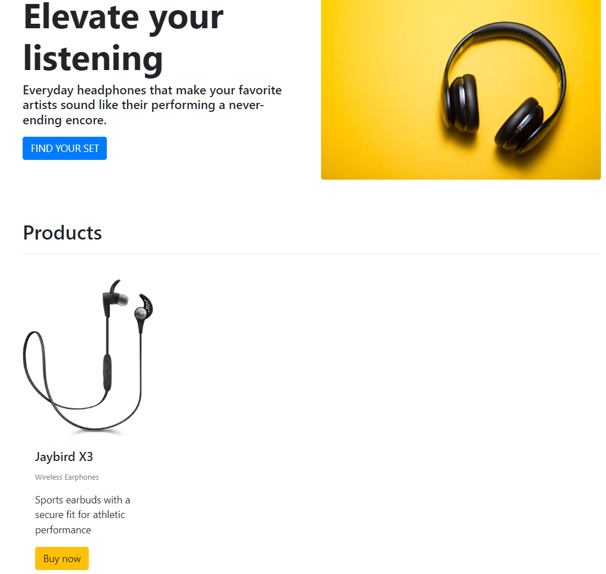
(2) Creating a Django model
models.py 파일에 Product 모델 추가
다음과 같이 코드를 추가합니다.
mysite > main > models.py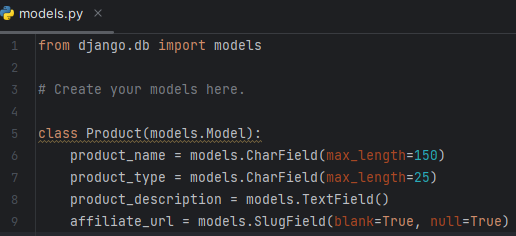
models.py에 미디어 업로드 추가
다음과 같이 코드를 추가합니다.

admin display name 변경
다음과 같이 코드를 추가합니다.
mysite > main > models.py
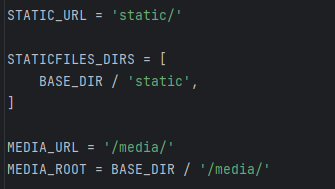
settings.py에 media folder url 추가
다음과 같이 코드를 추가합니다.
urls.py에 media folder url 추가
다음과 같이 코드를 추가합니다.
mysite > mysite > urls.py

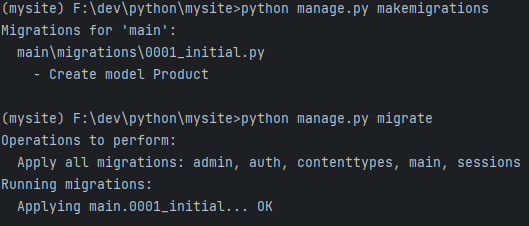
새 모델을 database에 적용
다음 명령어를 수행합니다.
>python manage.py makemigrations
>python manage.py migrate
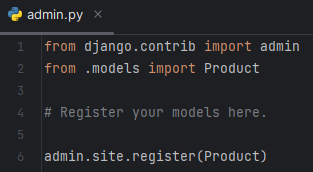
admin.py에 모델 등록
다음과 같이 코드를 추가합니다.
mysite > main > admin.py
Django 관리자 로그인
슈퍼 관리자로 로그인하면 다음 그림처럼 모델이 등록된 것을 볼 수 있습니다.
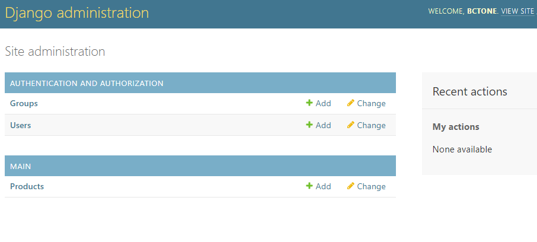
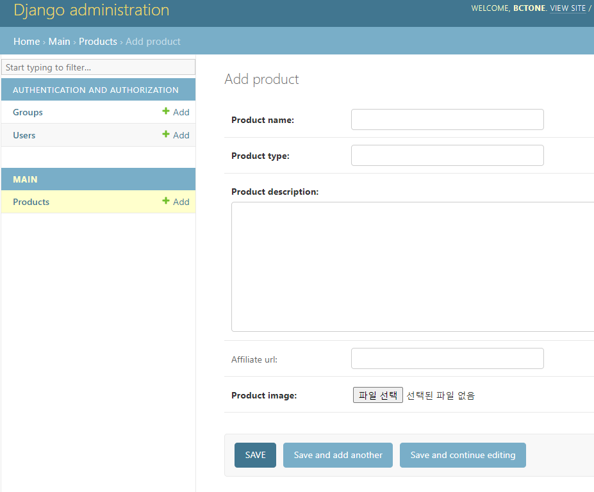
Django admin에 Product 정보 등록
관리자 화면에서 Product를 등록합니다.
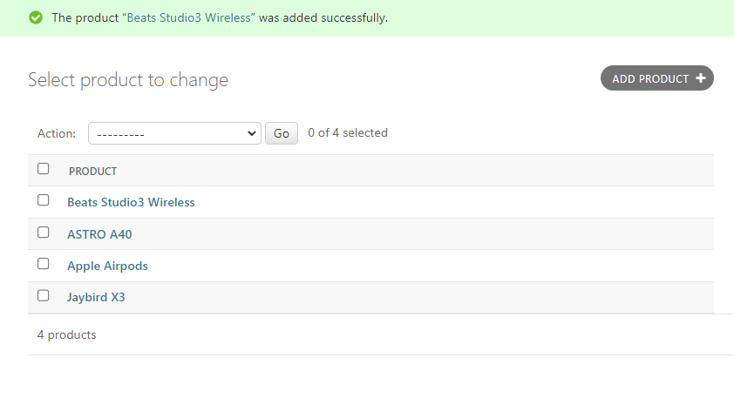
총 4개 Product를 등록합니다.
| Product name | Jaybird X3 | Apple Airpods | ASTRO A40 | Beats Studio3 Wireless |
| Product type | Wireless Earphones | Wireless Earbuds | Gaming Headset | On-Ear Headphones |
| Product description | Sports earbuds with a secure fit for athletic performance | Active noise cancellation and quick access to voice assistant | Adjustable & lightweight with removable mic | Up to 22 hour battery life, noise cancelling headphones |
| Affiliate url | ||||
| Product image | jaybird-x3.jpg | apple-airpods.jpg | astro-a40.jpg | beats-studio3.jpg |
(4) Displaying information with DTL
Product 모델을 출력하기 위한 views.py 설정
다음 코드를 추가합니다.
mysite > main > views.py

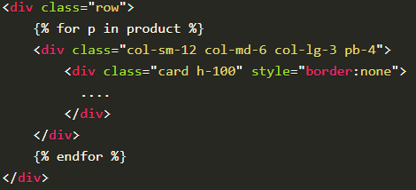
Product를 출력하기 위한 home.html 수정
다음 코드를 추가합니다.
mysite > main > templates > main > home.html
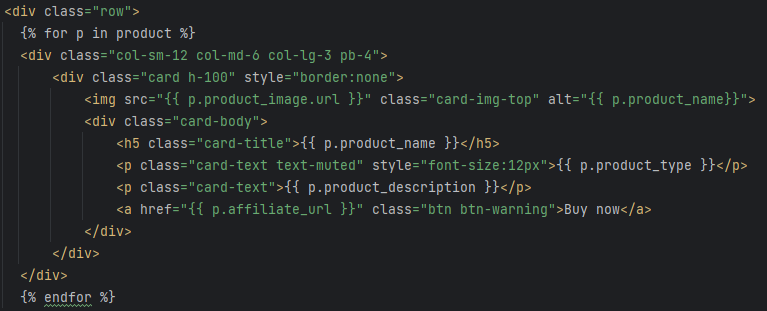
home.html 파일에 Product 필드 추가
다음 코드를 추가합니다.
mysite > main > templates > main > home.html
브라우저에서 확인해 봅니다.
